
This “HowTo” will cover creating a Raspberry PI Pixel VM on VirtualBox with Persistence
The VM will have the look and feel of a Raspberry PI, but will run on x86 not ARM.
Download the Latest ISO
At the time of this writing, 2016-12-13-pixel-x86-jessie.iso, was the latest
https://downloads.raspberrypi.org/pixel_x86/images/
wget https://downloads.raspberrypi.org/pixel_x86/images/2016-12-13-pixel-x86-jessie.iso
Create a second copy of the iso for mounting in the VM later
cp 2016-12-13-pixel-x86-jessie.iso 2016-12-13-pixel-x86-jessie-2.iso
Install and start VirtualBox, VMWare or your Virtual Machine manager of choice
Create a new VM
Choose your Processors 1 or more, Memory 1-2GB, Hard Disk 8GB and 2 CD drives loading both 2016-12-13-pixel-x86-jessie.iso and 2016-12-13-pixel-x86-jessie-2.iso at first boot.
Boot it!
Copy iso to Hard Disk
Open a terminal session
sudo dd if=/dev/sr0 of=/dev/sda
Sit back and have some coffee this will take a few minutes…
Shut Down and remove the CD’s
sudo halt
remove ISO’s from CD
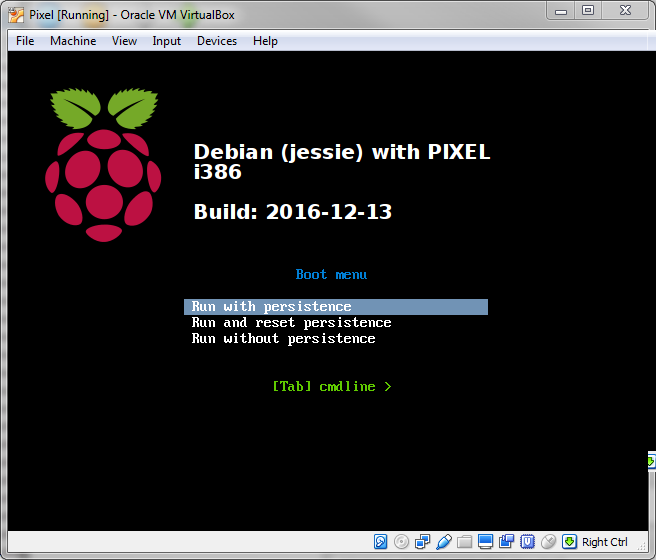
Start VM
Press Esc and choose with Persistence
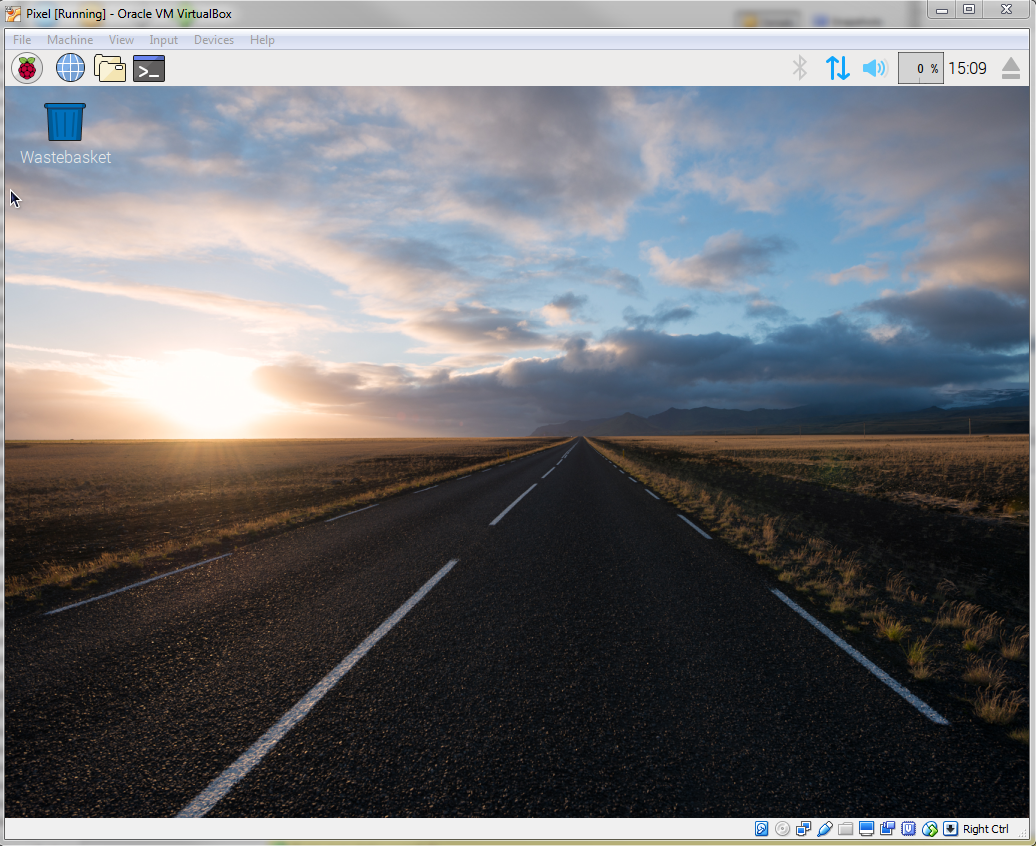
Congratulations you now have a Raspberry PI Pixel VM running!
Updates
Open a terminal
sudo apt-get update && sudo apt-get upgrade -y
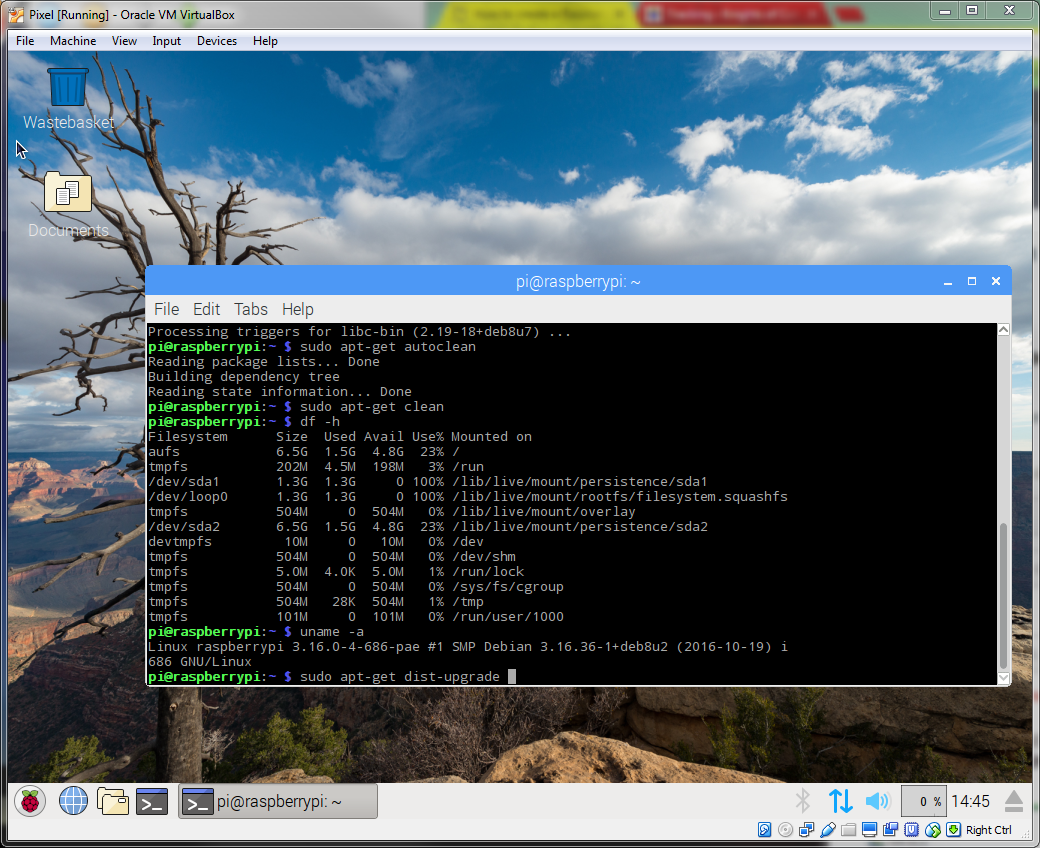
Get the Latest Greatest Raspberry PI OS at any time with:
sudo apt-get dist-upgrade -y && sudo apt-get autoremove && sudo apt-get autoclean && sudo apt-get clean
This was almost too easy!!!
Customize the UI install stuff have fun, be sure NOT to boot with the “Reset Persistence” unless you want to get back to the original image. ALL YOUR DATA, UPDATES AND MODIFICATIONS WILL BE ERASED. PERMANENTLY. FOREVER GONE. VAPORIZED. KAPUT. NA-DA. GONE.